1. Choose a photo with a readable subject
The strongest pixel stretch edits begin with separation. Look for a subject with a clean silhouette, an edge that contains interesting colors, and enough empty space for the trail to travel through. Cars, cyclists, dancers, skaters, fashion portraits, product photos, and brightly lit architecture all work well.
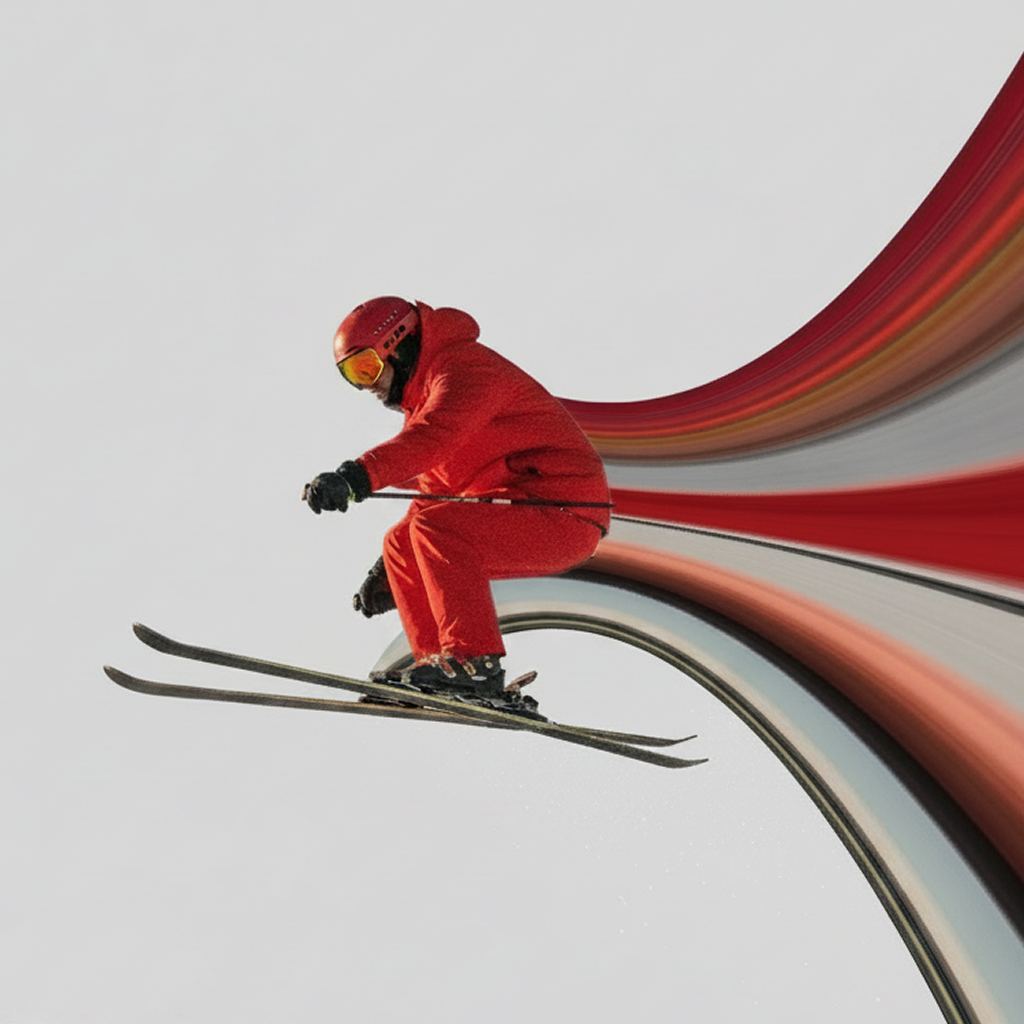
Decide the movement before editing. A car can pull color behind it. A portrait can bend the environment around the body. A jump can send a stripe up and out of the frame. This choice makes the final effect feel designed rather than random.
2. Import the photo and place the source line
Open Pixel Stretch, choose the image button, and select your photo. Drag on the preview to position the source line. The line samples the pixels that become the extended band, so small moves can produce completely different colors.
For a motion trail, place the line close to the trailing edge of the subject. For an abstract portrait, sample clothing, hair, or a bold background edge. Avoid flat areas with little color variation unless you deliberately want a minimal stripe.
3. Choose a direction and shape the stripe
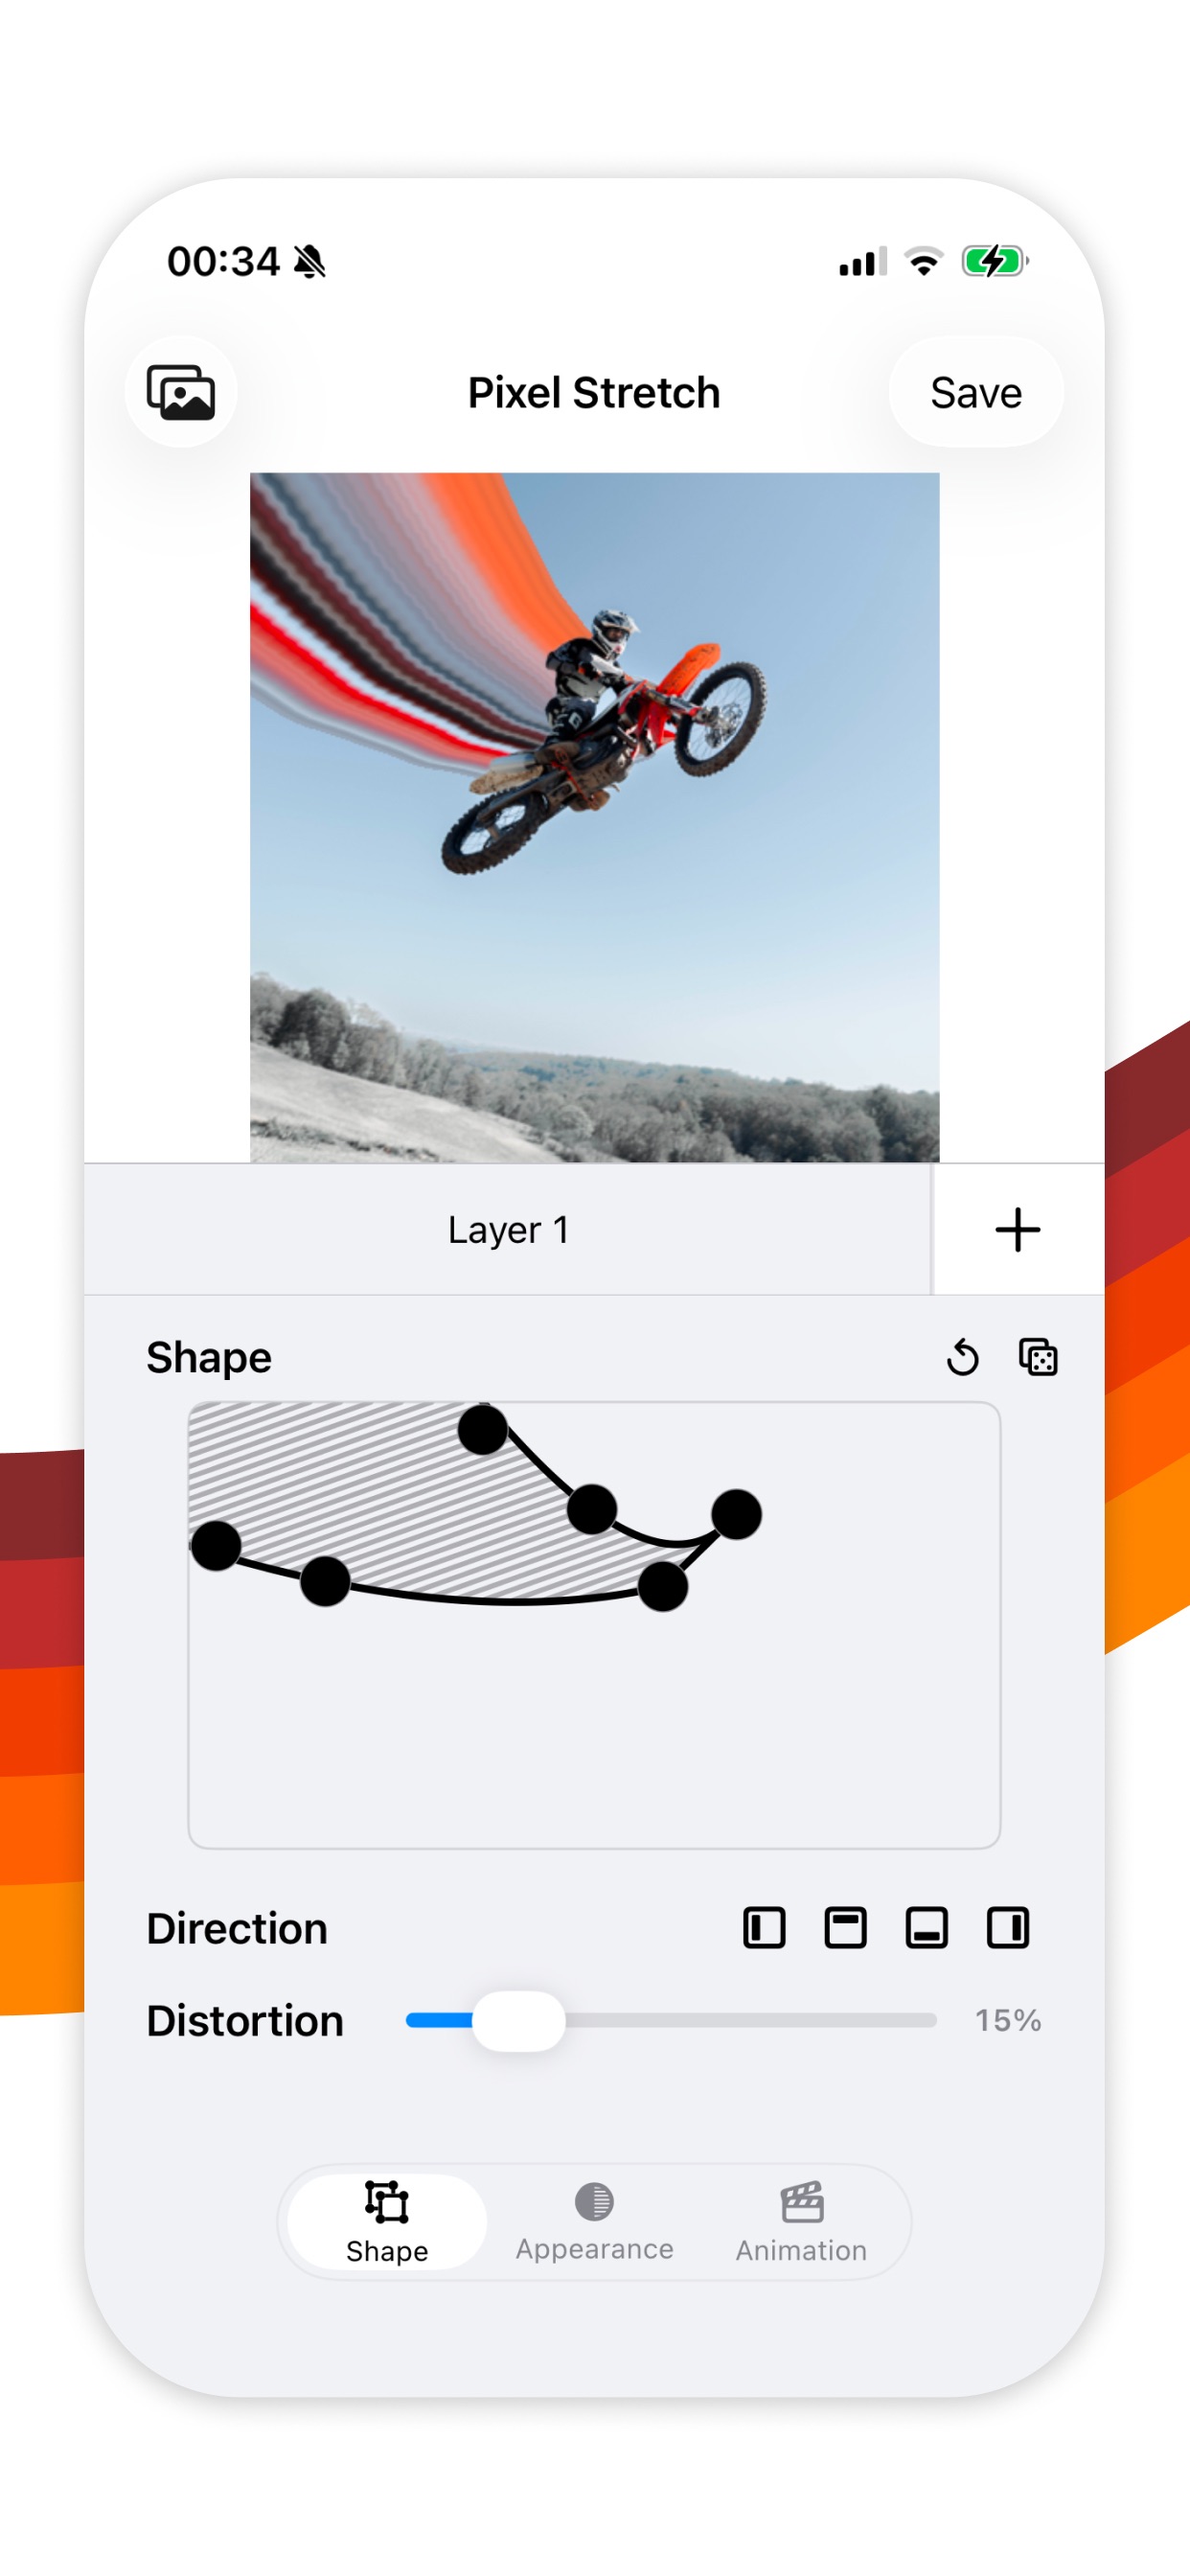
Select the direction that gives the trail room to move: left, right, up, or down. Then use the curve pad. Drag the control points to create a soft arc, a tight bend, or a dramatic S-curve. Start with a simple shape and only add complexity when it improves the composition.
Use distortion to break up a perfectly smooth band. Tint can unify the colors, while layer duplication lets you build several trails from different parts of the photo. Transparent gradients help the effect fade naturally rather than ending abruptly.
4. Restore the subject and export
When local subject cutout is available, restore the person or object above the stripe. A sharp foreground subject over a flowing color trail is what makes the effect read as motion instead of a simple smear.
Use before-and-after comparison to check that the edit still has a clear focal point. Then save or share. Pixel Stretch Pro unlocks unlimited images and full-resolution pixel stretch exports.
Common pixel stretch mistakes
- Stretching against the composition: send the trail into open space, not through important faces or details.
- Sampling dull pixels: move the source line toward contrast, texture, or saturated color.
- Using too many curves: one deliberate arc usually feels faster and cleaner than a tangled path.
- Losing the subject: restore the subject or reduce the stripe so the focal point stays readable.
Make your first pixel stretch on iPhone
Import a photo, shape the trail by touch, and export the finished effect in minutes.
Download Pixel Stretch — Free ↗