Start with the direction of travel
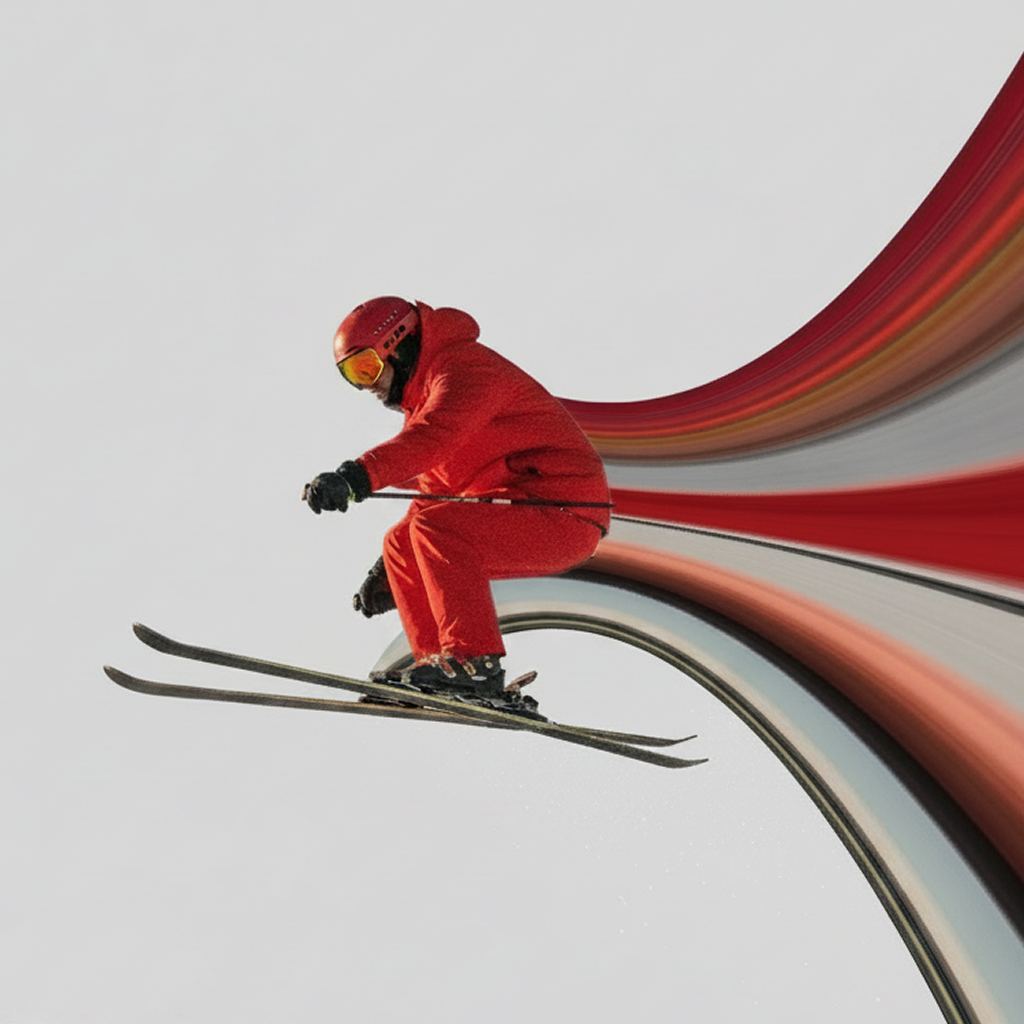
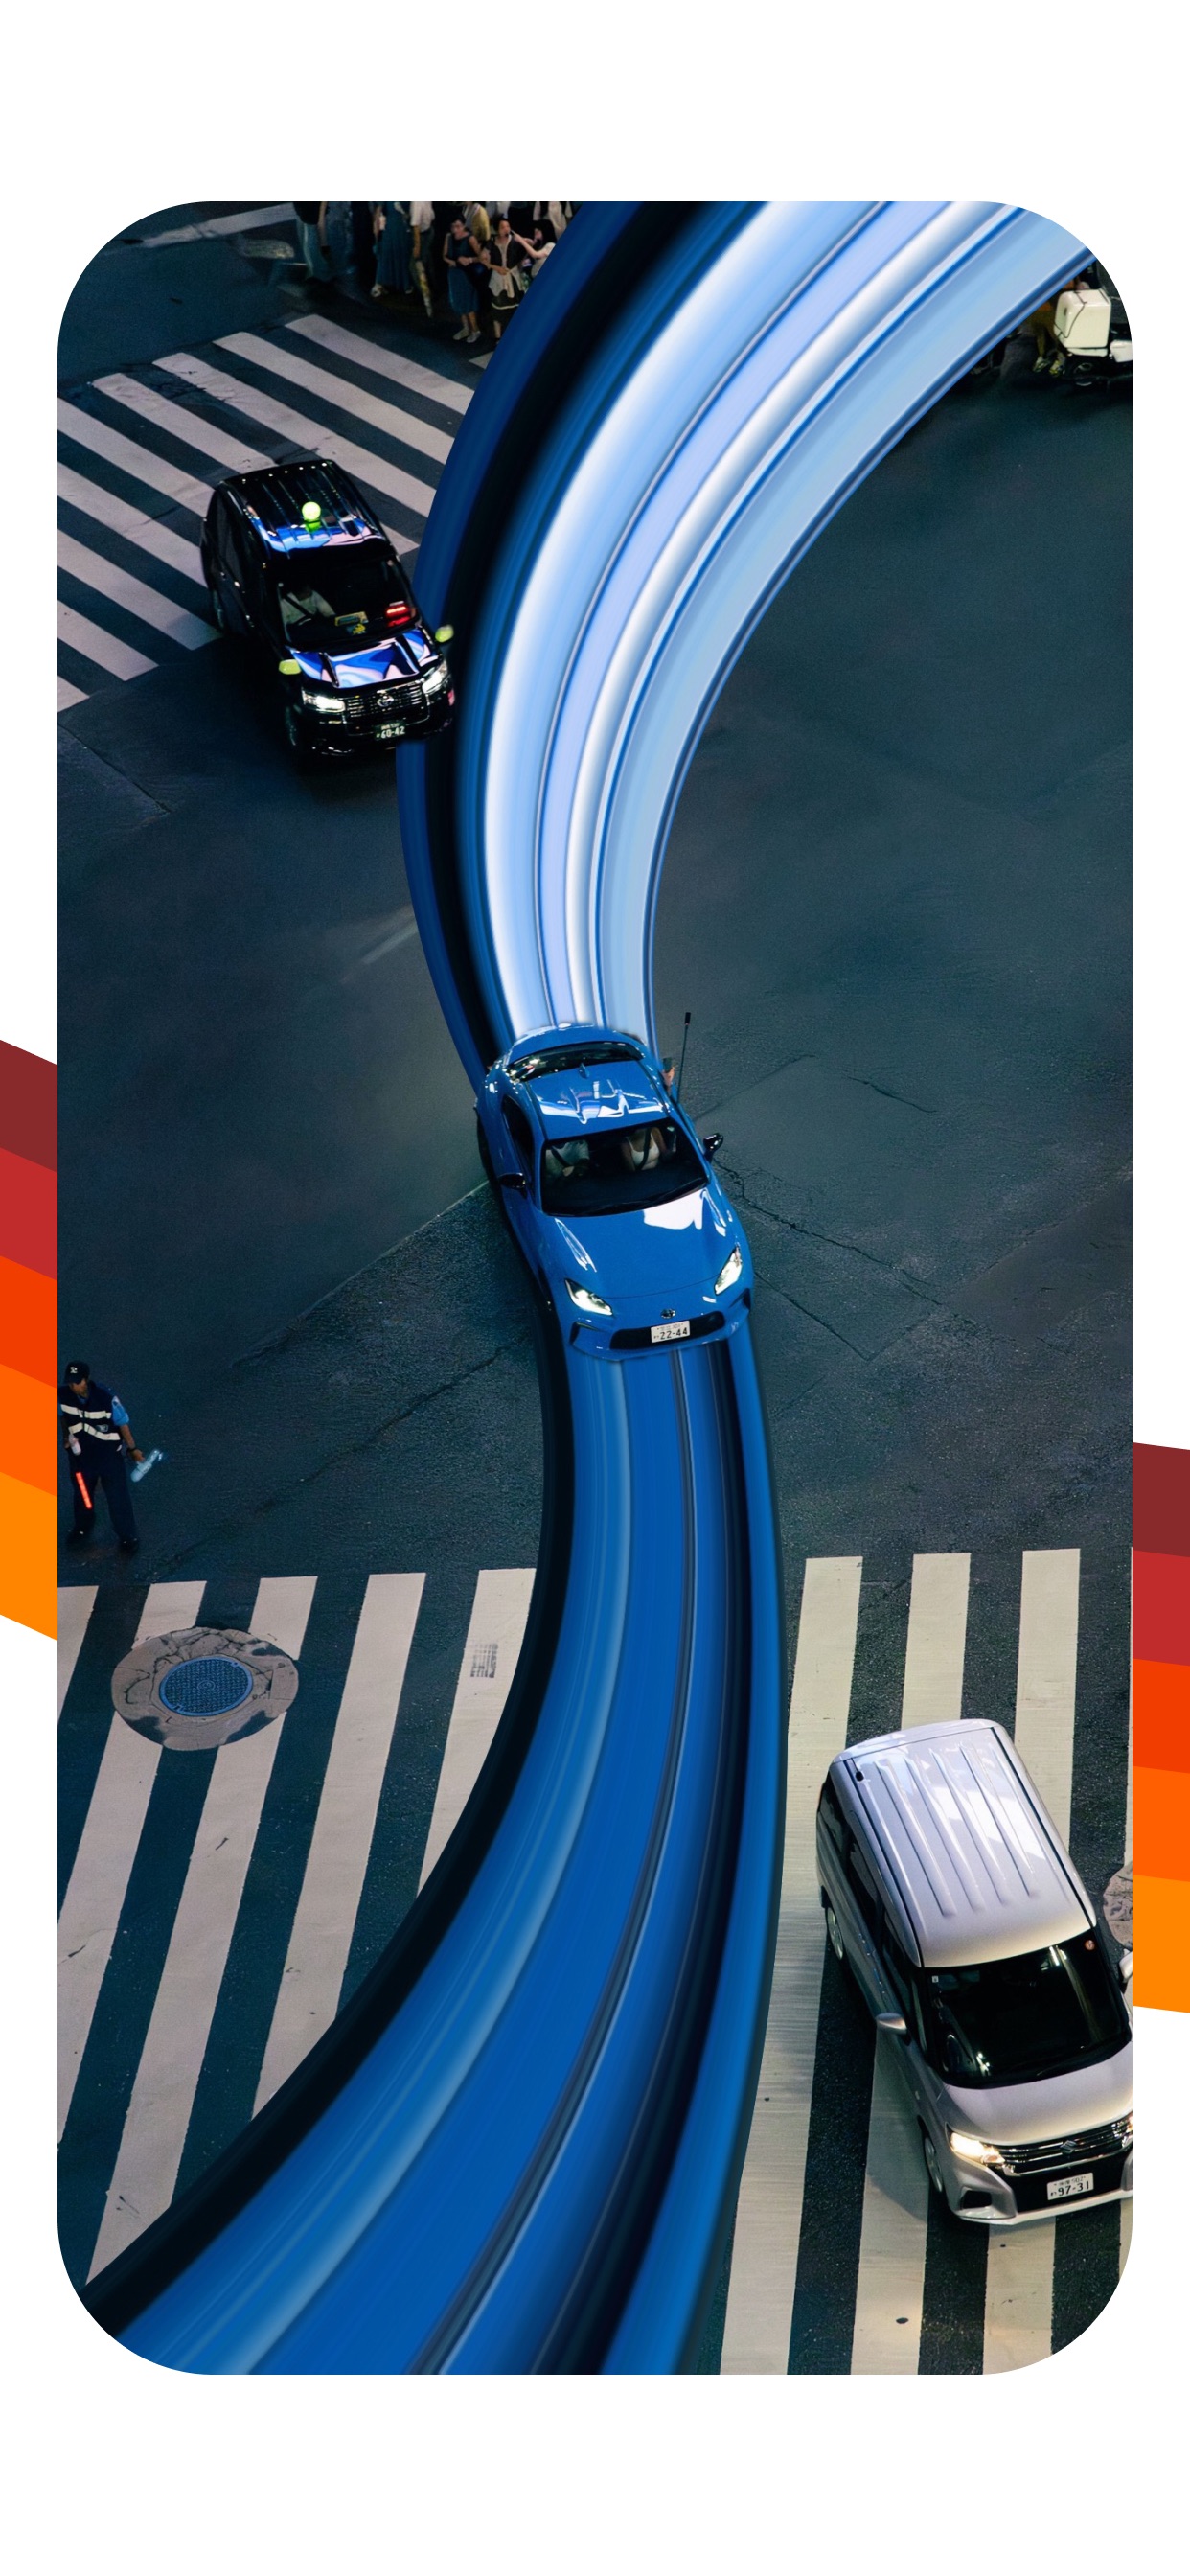
Before opening an editor, look at where the subject is facing and where the frame has open space. For a car moving right, a trail usually feels natural when it extends behind the car toward the left. A jumping athlete may need a diagonal or upward curve. A dancer can support a circular path that follows the gesture.
The trail does not need to be physically accurate, but it should agree with the energy already present in the photograph.
Sample color from the trailing edge
Import the photo into Pixel Stretch and place the source line over the back or side of the subject. Choose an area with contrast: a bright shirt against a dark wall, metallic highlights on a vehicle, or a colorful shoe against the ground.
If the stripe looks muddy, move the source line. The sampled pixels determine the entire palette of the trail.
Use the curve as a path for the eye
Select the stretch direction that leads into the empty part of the frame. Then shape the stripe with a few decisive control points. A shallow curve suggests speed. A tighter bend feels energetic or surreal. An S-curve creates drama but can overpower a simple composition.
Build depth with layers and distortion
Duplicate a layer to create a second trail, then vary its path or opacity. A narrow sharp stripe near the subject and a broader distorted stripe behind it can create depth. Tint can bring mixed sampled colors into one visual family.
Use transparent gradients so the trail fades rather than ending like a hard rectangle. Keep at least one area of the image quiet so the viewer has somewhere to rest.
Restore the subject and check the silhouette
Bring the subject back above the stripe where cutout is available. Zoom out and make sure the silhouette remains readable at thumbnail size. Compare the before and after, then export the still image or animate the trail for a social video.
Give your action photo a direction
Shape motion trails by touch and keep the original subject sharp.
Get Pixel Stretch — Free ↗